
The per-user MFA administration experience in the Microsoft Entra admin center is recently improved. To view and manage user states, complete the following steps:
-
Sign in to the Microsoft Entra admin center as at least an Authentication Policy Administrator.
-
Browse to Identity > Users > All users.
-
Click Per-user MFA.
-
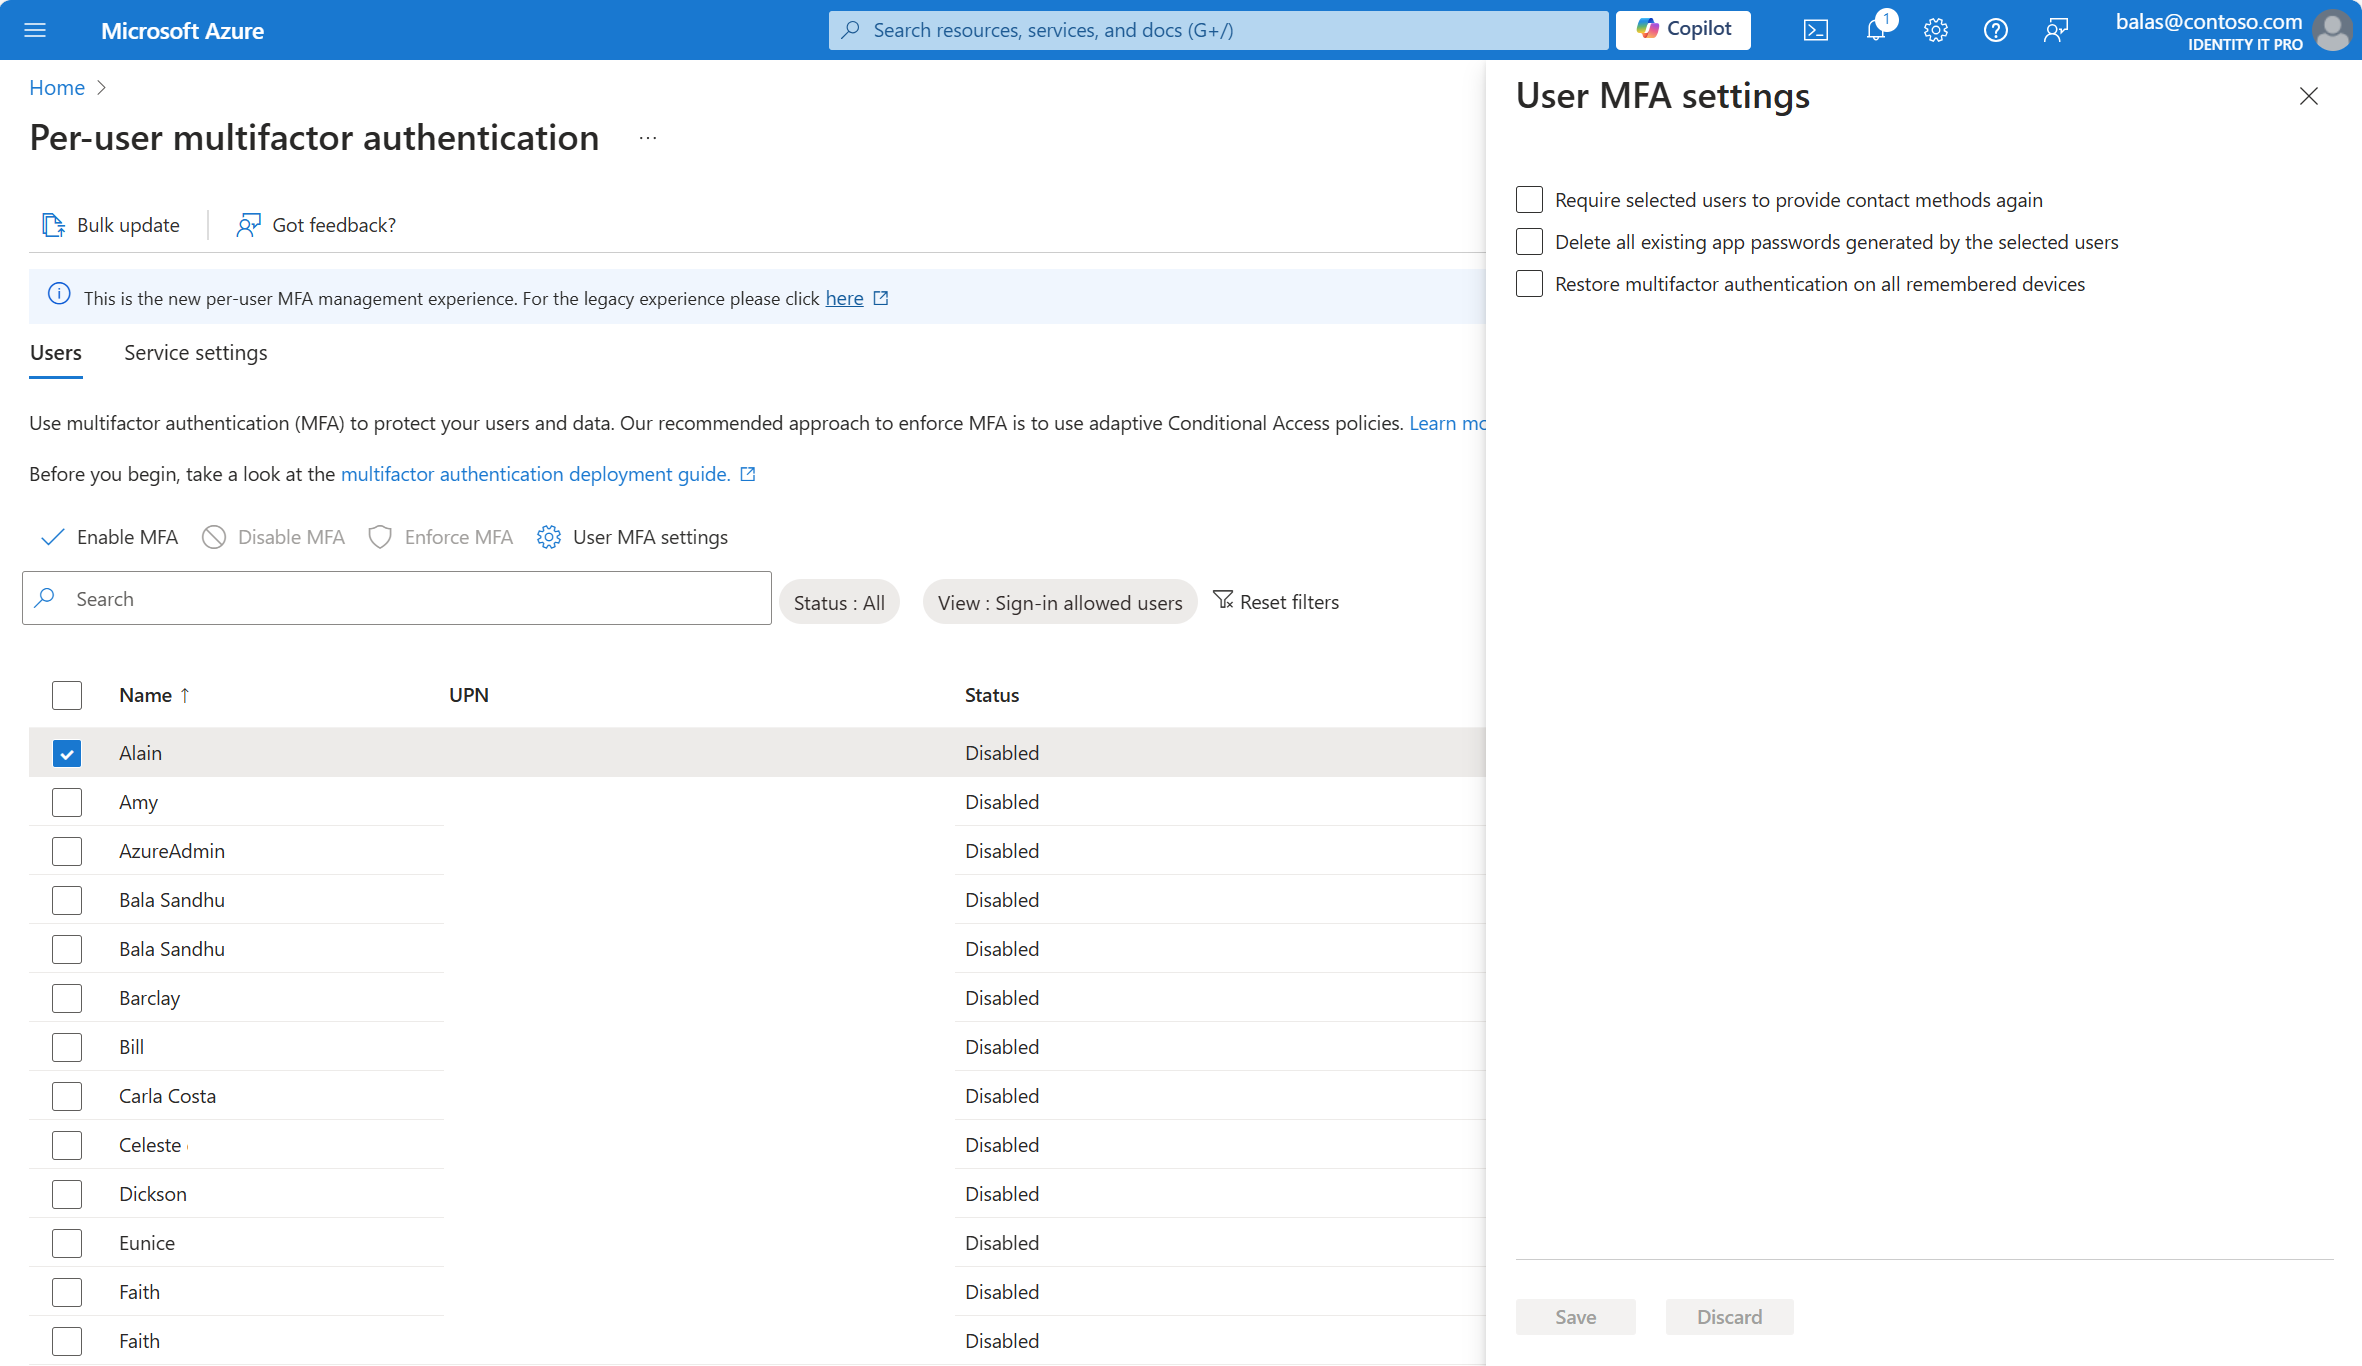
Select a user account, and select User MFA settings.
-
After you make any changes, select Save.
If you try to sort thousands of users, the result might gracefully return There are no users to display. Try to enter more specific search criteria to narrow the search, or apply specific Status or View filters.

Change the status for a user
To change the per-user Microsoft Entra multifactor authentication state for a user, complete the following steps:
-
Sign in to the Microsoft Entra admin center as at least an Authentication Policy Administrator.
-
Browse to Identity > Users > All users.
-
Click Per-user MFA.
-
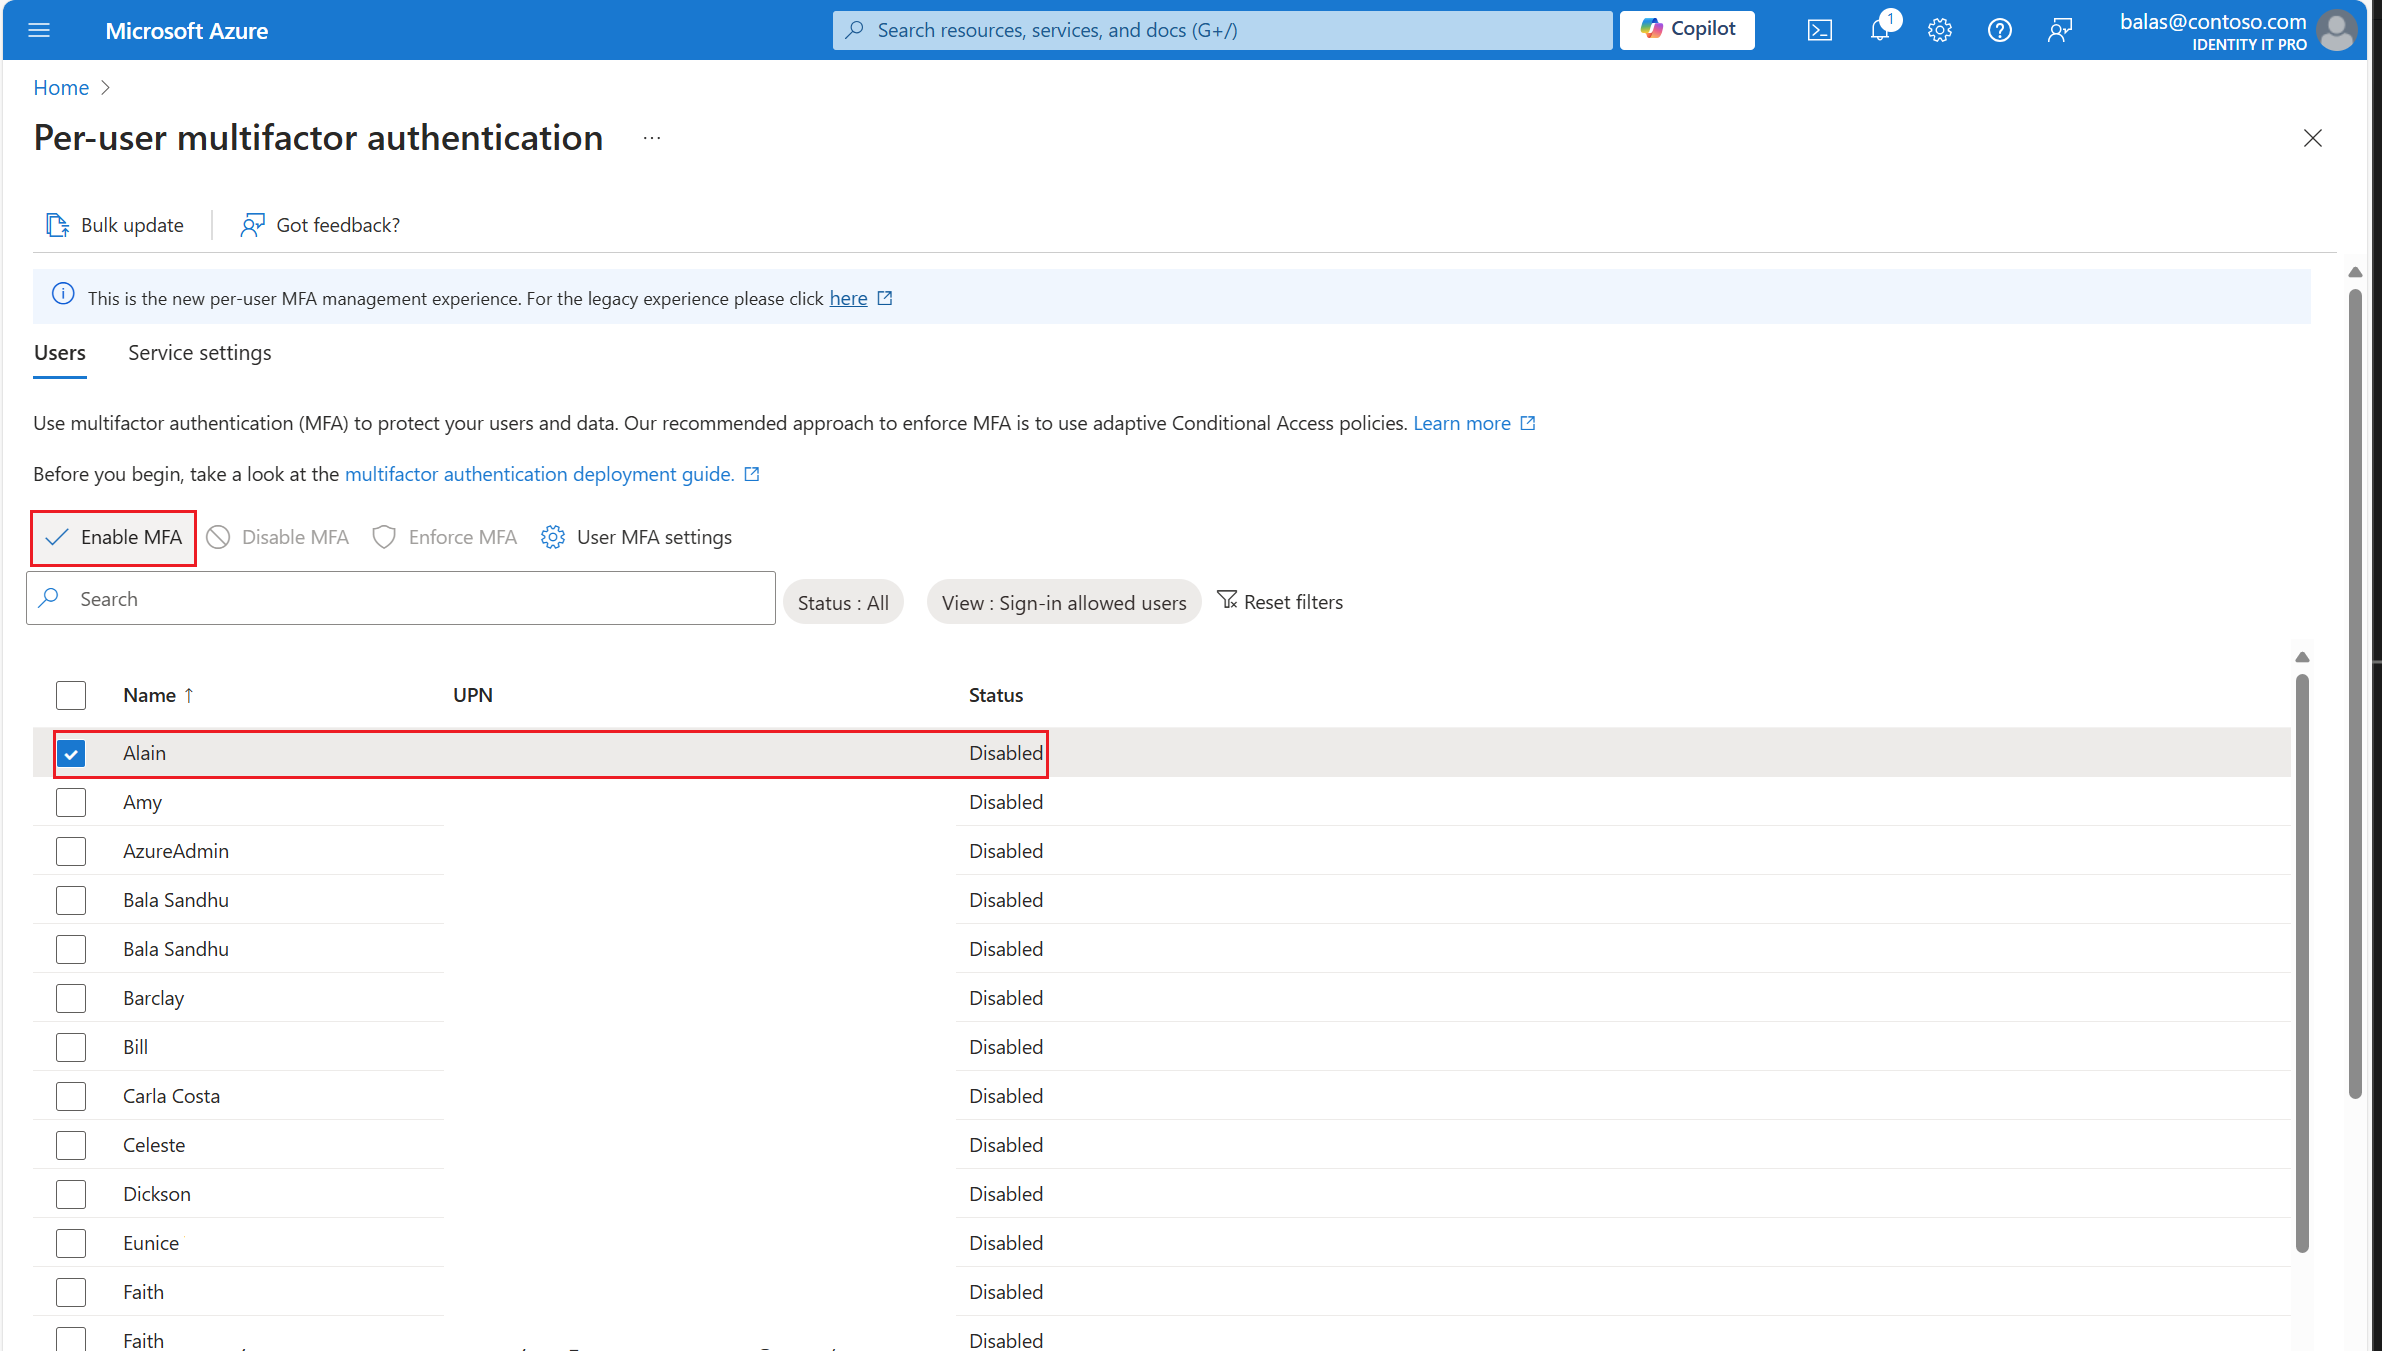
Select a user account, and select Enable MFA.
Tip
Enabled users are automatically switched to Enforced when they register for Microsoft Entra multifactor authentication. Don't manually change the user state to Enforced unless the user is already registered or if it is acceptable for the user to experience interruption in connections to legacy authentication protocols.
-
Confirm your selection in the pop-up window that opens.
Comments
0 comments
Please sign in to leave a comment.