Using Microsoft Authenticator is the best option to use as your default MFA sign-in method.
The reason we like it is that:
- It is secure
- It is free
- It is available for iOS and Android devices
- You can MFA even if you have no cell coverage
- You can MFA also if you have no wireless coverage
- If you have a limited SMS Plan and have wifi, you will not be using your SMS plan to get authenticated
- The best of all, you just need to click a button to MFA, no need to read, remember, and type a 6-digit code
Here is the process that you will experience, as a user, when setting up Microsoft Authenticator as your preferred authentication method
Note: Your IT administrator must have enabled the Azure feature called “Users can use preview features for registering and managing security info – enhanced.”
Let’s get started!
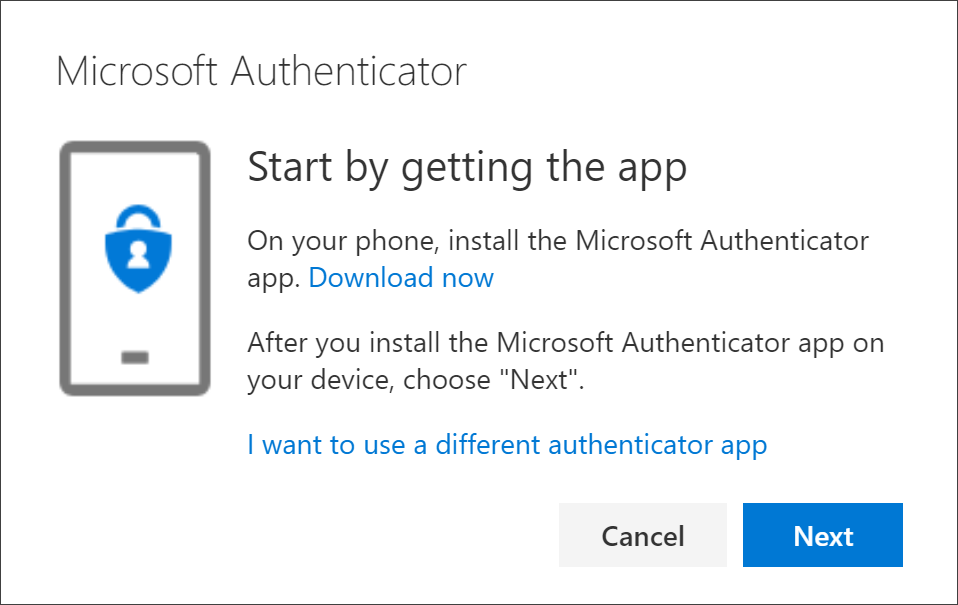
- Download the Microsoft Authenticator App from the Android or Apple store on your phone

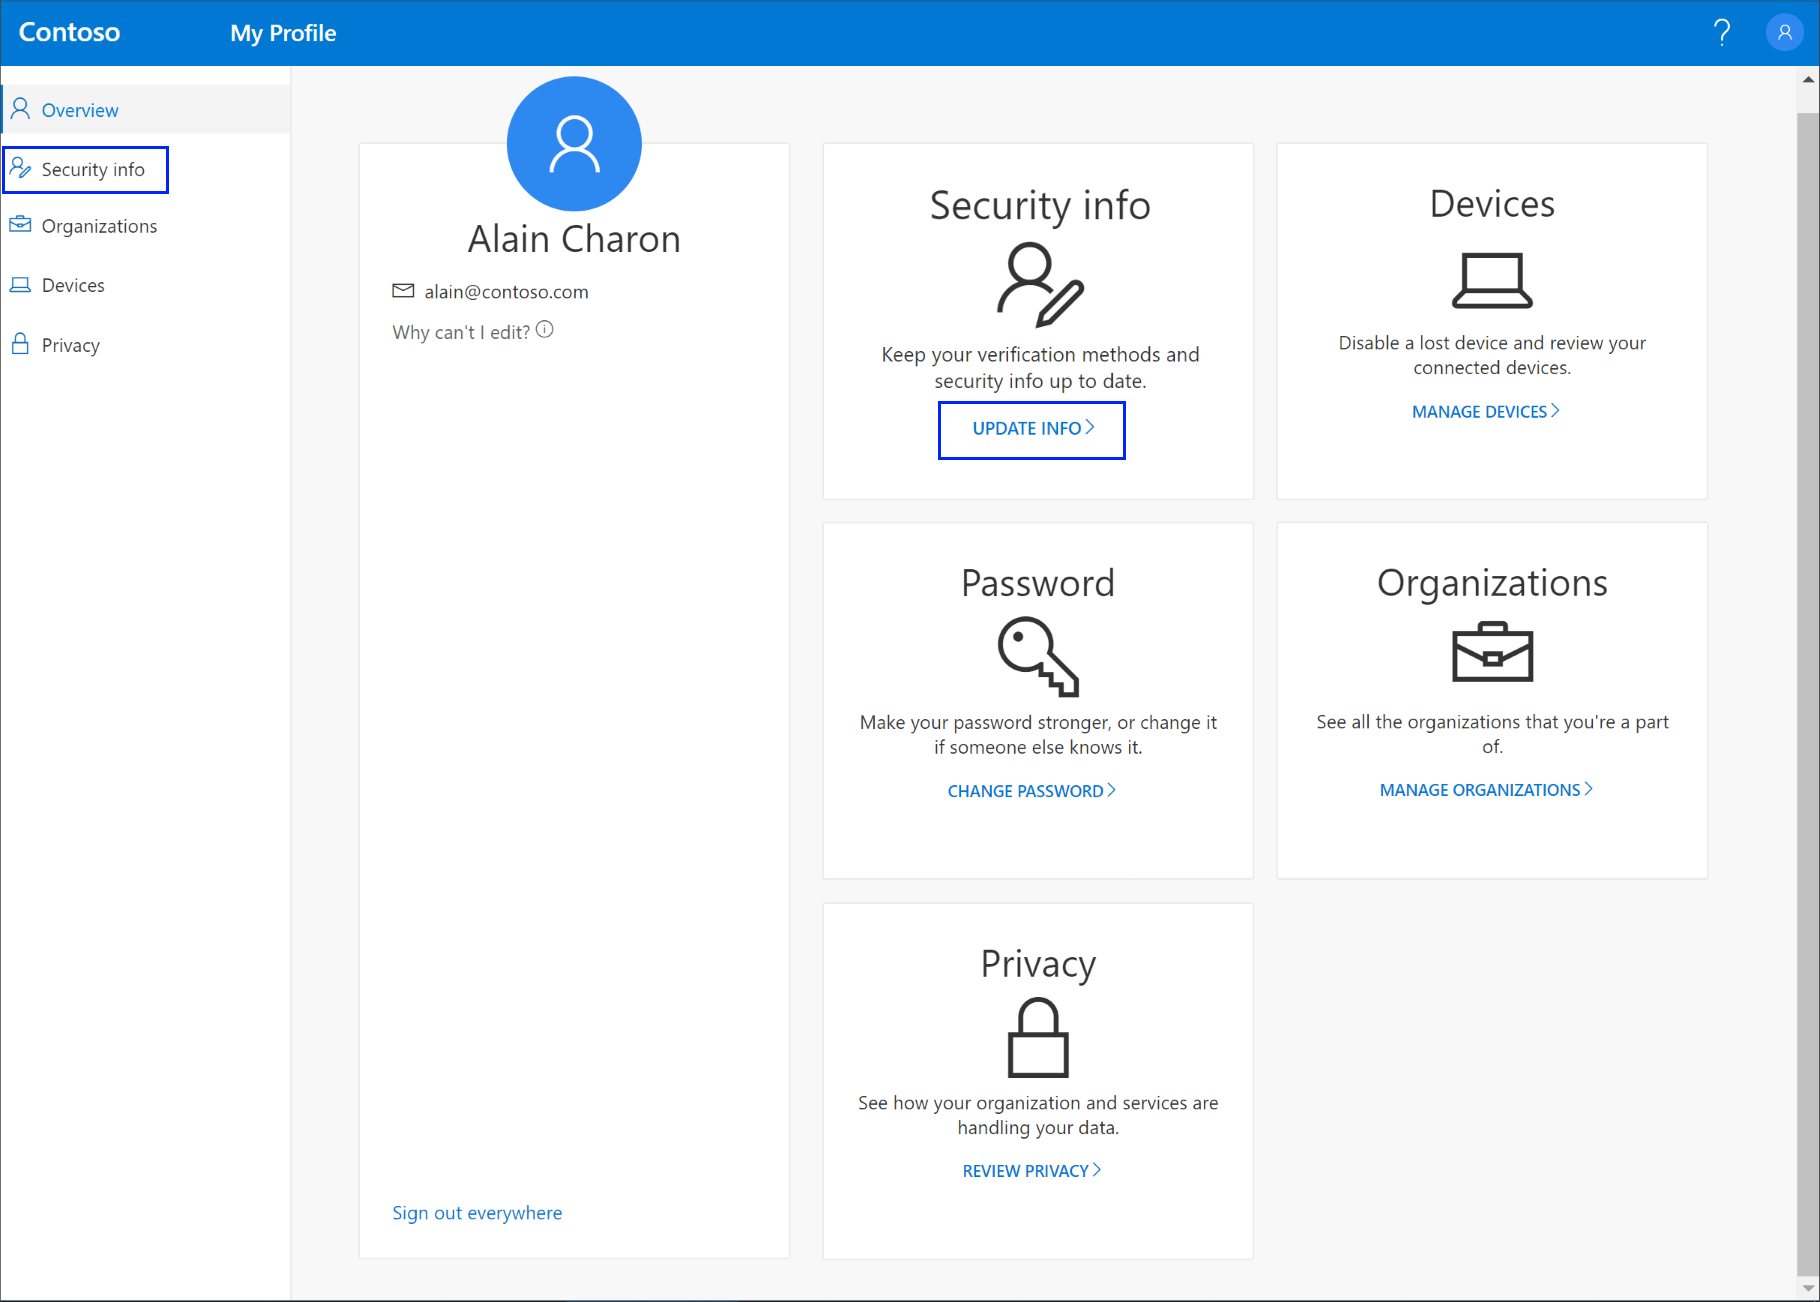
- On your computer, go to https://myprofile.microsoft.com/
- Click on the tab Security Info or Update Info in the Security Info section
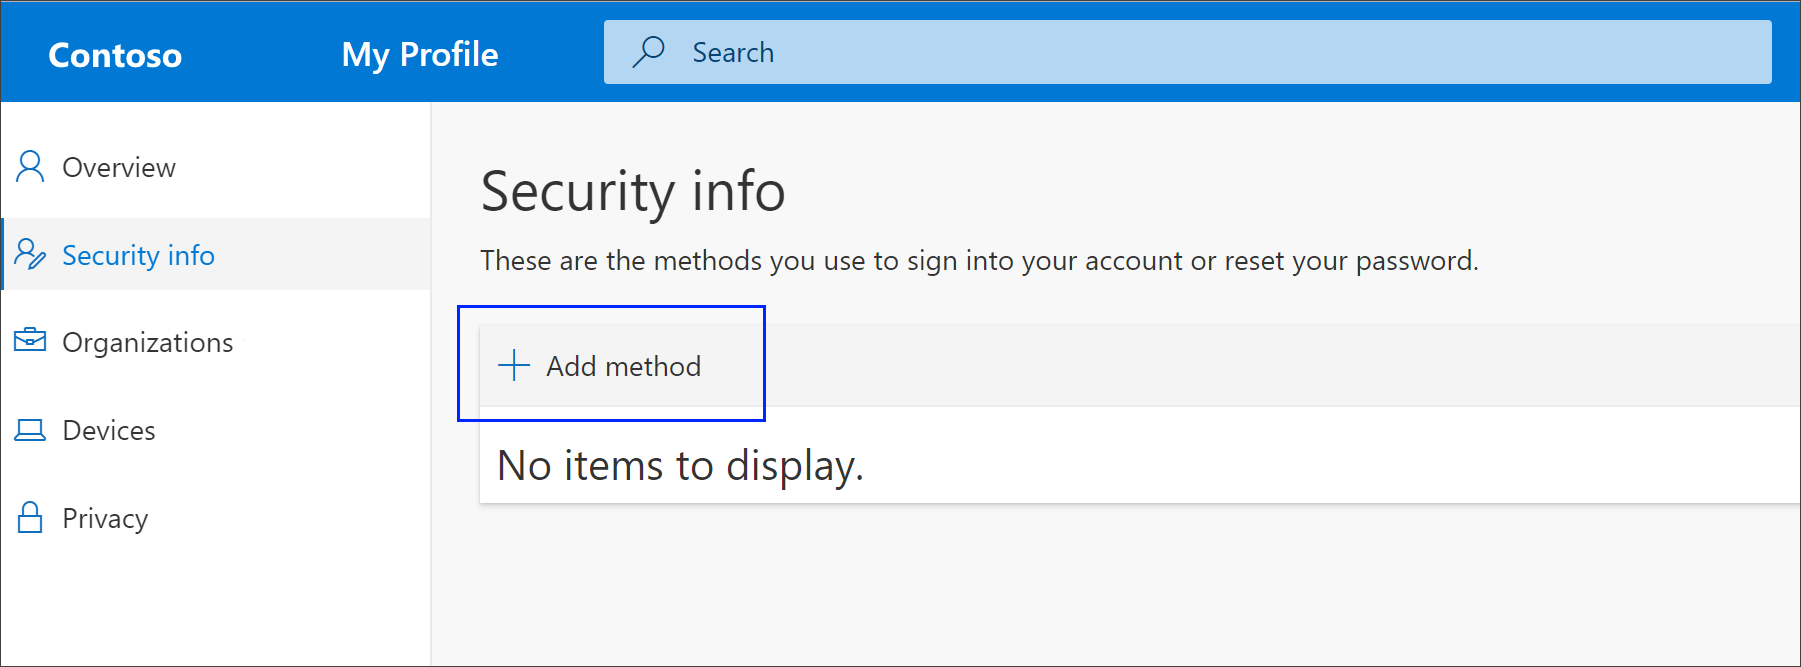
- Now, click on the +Add method
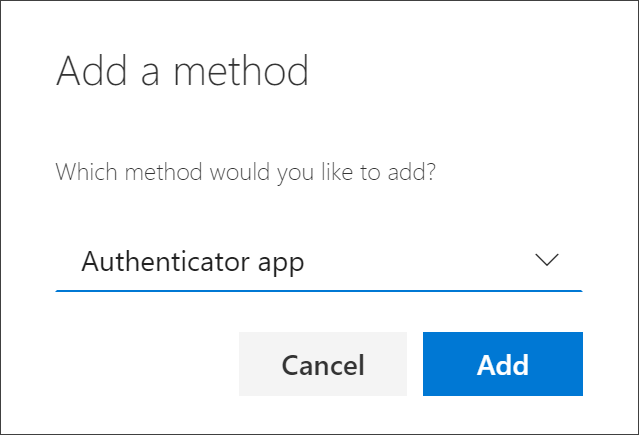
- Select Authenticator App and click Add
-
On your smartphone (iOS or Android), open the Microsoft Authenticator app
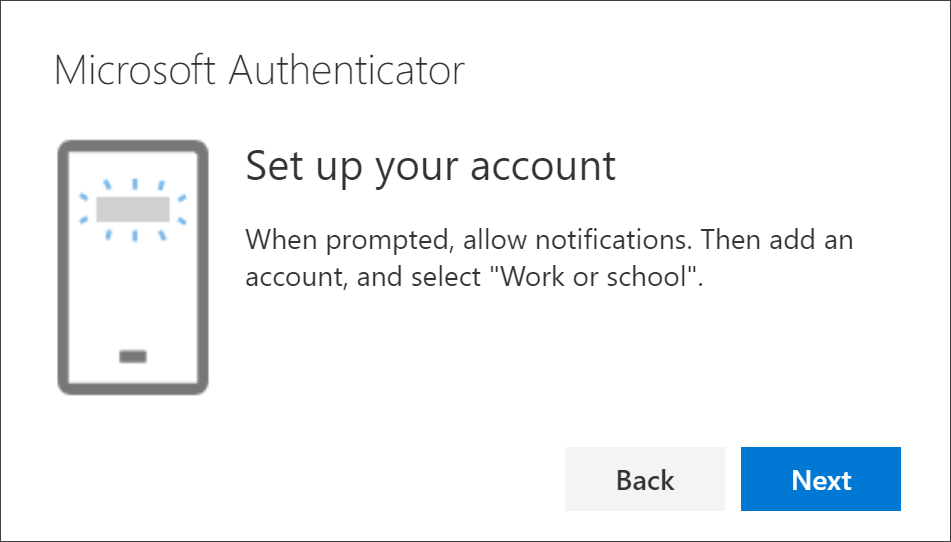
- Once the app is open, click Next on the screen below (on your computer)
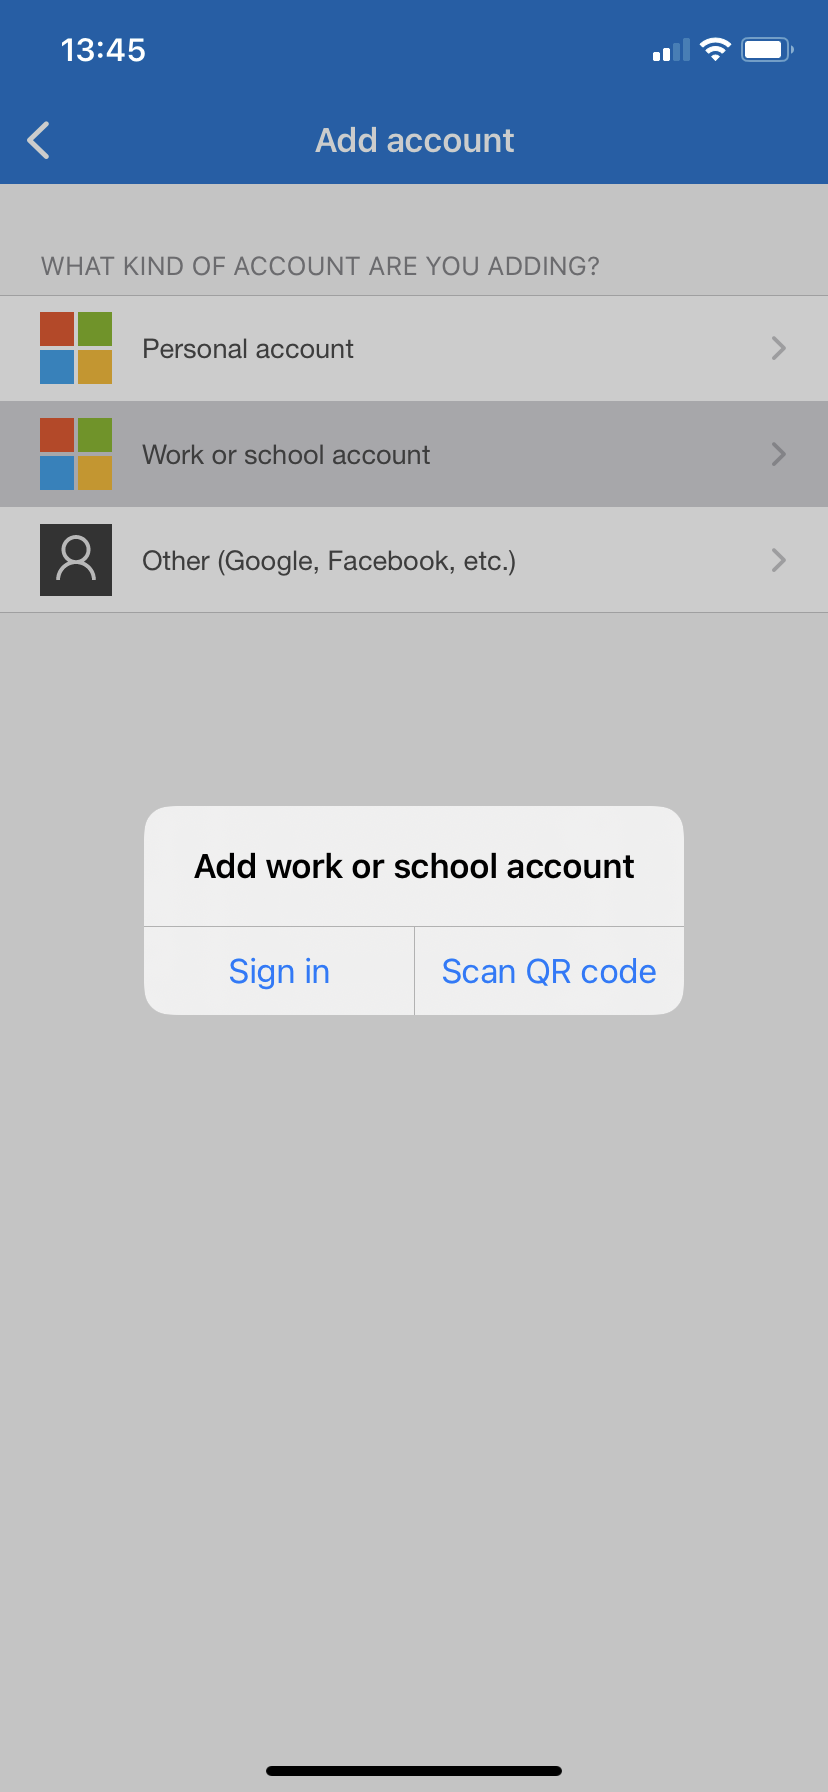
- On the Microsoft Authenticator App on your phone, select “Work or School.”
- On your computer, click Next
- With your phone, scan the QR code that will show similar to below
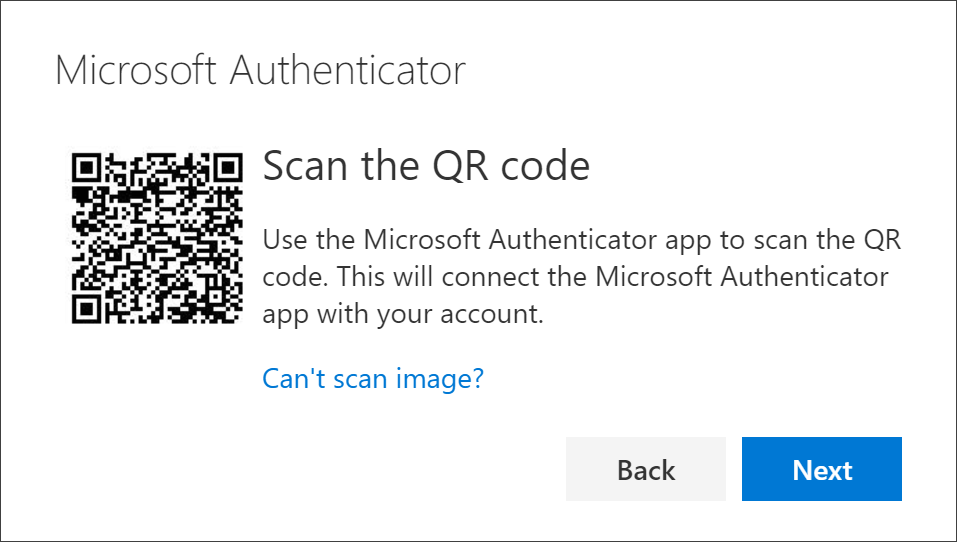
- Once done, click Next
You will receive a ‘pop up’ notification from Microsoft Authenticator. You will need to press the Approve button to move forward. The beautiful thing, compared to SMS MFA, is that you do not have to type any number, making the process faster and easier.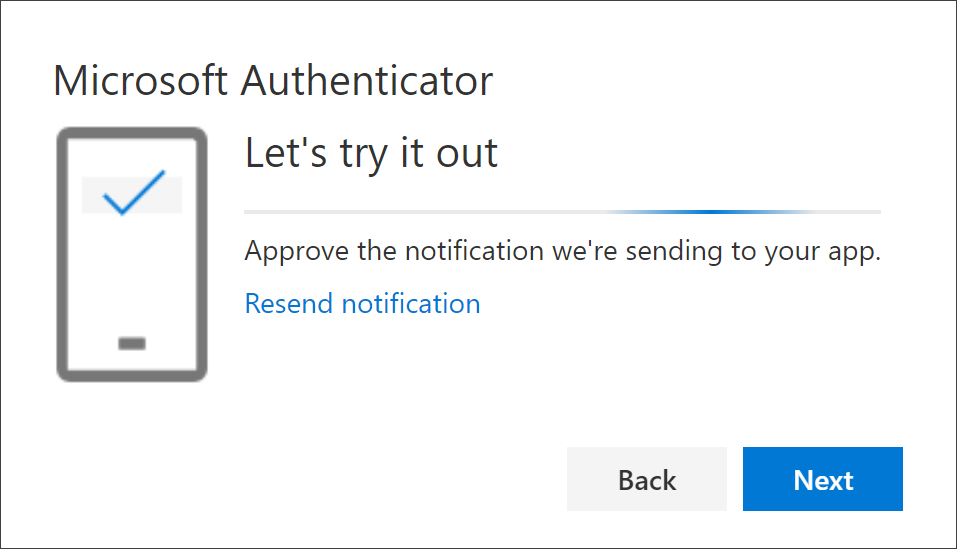
Now approve the notification
- If the setup is successful, you will receive the following confirmation – “Notification approved”
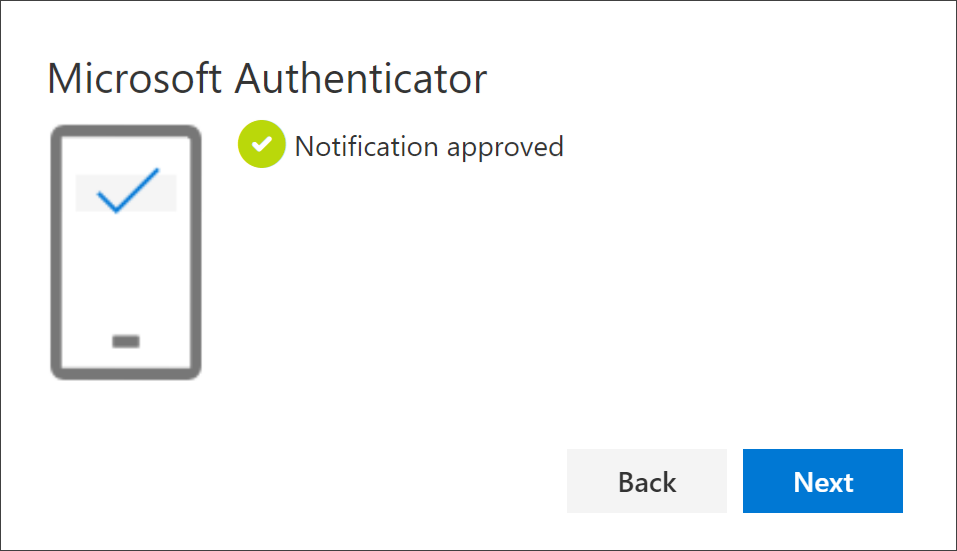
- Click Next
You should now see a summary screen confirming that MFA has been set as the default
Comments
0 comments
Please sign in to leave a comment.